
Polish Meat Pierogi – Eastern European Staple
This post may contain affiliate links which won’t change your price but will share some commission.
Meat Pierogi is an absolute staple in Polish cuisine. For the filling, you can use up meat from a broth, or you can use up your leftover turkey, or you could cook some pork, chicken, or beef for the filling of this pierogi (I’ll show you how). If you want just to see the recipe itself, then please use the ‘Jump to Recipe’ button above.
If you love pierogi, you can’t miss my Authentic Polish Pierogi with Potatoes and Cheese (known as Pierogi Ruskie), Sauekrkraut and Mushroom Pierogi, Uszka – Mushroom Ear Pierogi, all traditionally served on Christmas Eve, or these unique Butternut Squash Feta Pierogi.
If you’re interested in learning more about Pierogi, check what Wikipedia says about them.
Pierogi from Chicken Broth Meat
For anyone who grew up in a communist country, it’s not a surprise that food was scarce. You couldn’t just go to the supermarket and get whatever you wanted. Chicken or pieces of beef were a commodity.
Therefore, once someone was able to get a chicken or beef and make a Sunday chicken soup (Rosol, which is different than American chicken soup as it is clear like a broth), they’d often use that meat and some of the veggies to make a filling for pierogi. Nothing was ever wasted.
So the next time you make Rosol or any other broth and have some leftover meat, don’t throw it out. Turn it into pierogi instead. Get meat and veggies from the broth and either push it through a meat grinder or use a food processor. Pulse it a few times, season to your liking, and your filing for the pierogi is almost ready. I would also add some chopped and fried onions and fresh parsley (both are such huge flavor boosters!)
Pierogi from Leftover Turkey
I’ve lived in the US since 2005, and my boys are half-Polish and half-American. Therefore, I make sure that we celebrate both Polish and American Holidays. Every year for Thanksgiving, I make my Maple Mustard Glazed Turkey, Mushroom Leek Stuffing, and Brussels Sprouts with Bacon.
Like most of you, we always end up with a lot of turkey leftovers. Typically, I repurpose this meat to make dishes like Turkey Soup, my famous Turkey Sandwich, and occasionally Spanish Rice.
But this year, I surprised my husband and changed our turkey leftovers into a delicious meat pierogi. He was surprised and said it was an excellent way to use up all these leftovers.
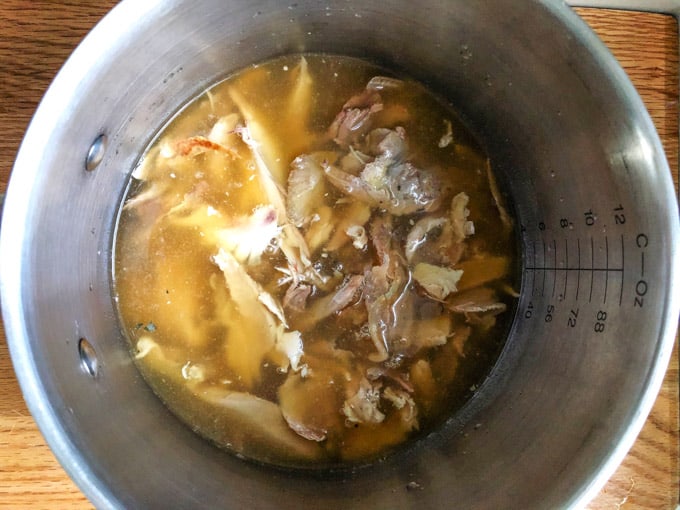
When you store the turkey meat in the fridge, it tends to dry out. For pierogi, the meat needs to be soft. The easy solution is to place it in a pot with some turkey or chicken broth and boil it for a few minutes.
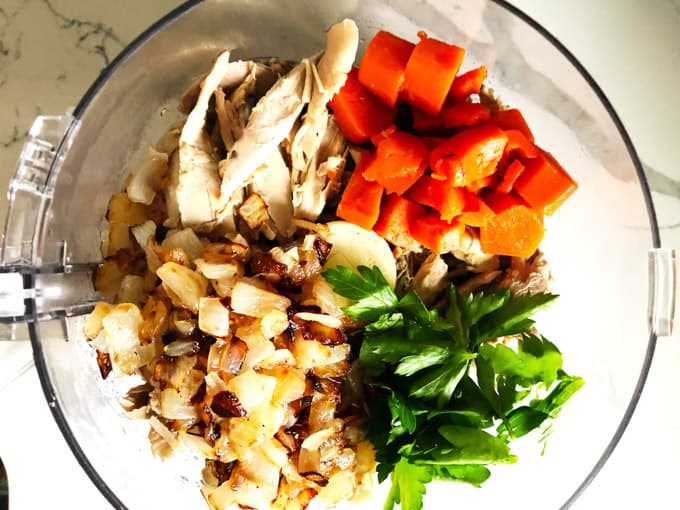
If you roast your turkey with veggies, you may have some carrots or celery to add to the filling. I usually have carrots and celery. This year, I only added carrots, fresh parsley, and some freshly fried onions.
If you don’t have veggies, add some to the broth and cook until soft. Place everything in a food processor, pulse a few times, adjust the seasoning, and your meat pierogi filling is ready.
What if you don’t have any cooked meat and have a meat pierogi craving?
The answer is simple: take a piece of meat (either chicken or pork or beef, or a combination of them) and add some carrots and celery; then add to a broth and cook until the meat and the veggies are soft.
Then proceed like described above…add to the food processor, season, add fried onions, and pulse a few times. Set aside and work your dough.
Here’s what you need to make Meat Pierogi:
Meat: You can make pierogi from chicken, turkey, pork, beef, or a combination. For this recipe, I used approximately 2 cups of shredded turkey meat. If you use other types of meat, make sure that you have about 2 cups of it once you take the meat off the bones.
Broth: chicken, beef, or turkey broth to soften the meat if it needs to be reheated
Veggies: cooked carrots and celery will add some nice texture, and fried onions and fresh parsley will boost flavor.
Seasoning: Salt and pepper is a must, but you can add other seasonings you like. Some people like adding marjoram, garlic powder, onion powder, or magi seasoning (I always buy it in specialty Polish stores). Just taste the filling and adjust it to your liking.
Dough: I’ve written some posts with step-by-step guides on how to make pierogi dough. Many different schools add an egg to the dough. I make my dough without an egg. I think the dough without the egg is much softer and pliable. For my dough recipe, you’ll need flour, butter, milk, and/or water.
How to make these pierogi
(Please see the printable recipe card at the end of this post)
Steps For the Filling
As you read, I mostly touched on how to make meat pierogi filling above. However, I will show you a couple of in-process shots so you can see how it is done.
Step 1: Either cook or rehydrate your meat.
Step 2: Chop and fry the onions.
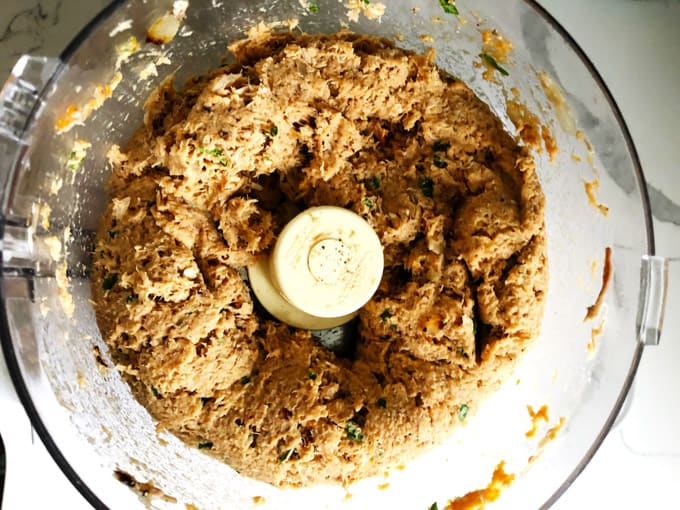
Step 3: Add the meat, carrots, parsley, and fried onions to a food processor, season, and pulse a few times.
Step 4: Set your filling aside and prepare the dough.
Steps for the dough
Step 1: Make the dough:
If you have a standing mixer, add flour, warm milk and/or warm water, melted butter, and a pinch of salt to the bowl. Then, use the dough hook to mix it until it’s well combined. Once combined, continue kneading it for about 6-7 minutes.
If you don’t have a mixer, you can make the dough by combining all the ingredients and kneading it until it no longer sticks to your hand (you can see how to make it in the post for Pierogi with Potatoes and Cheese).
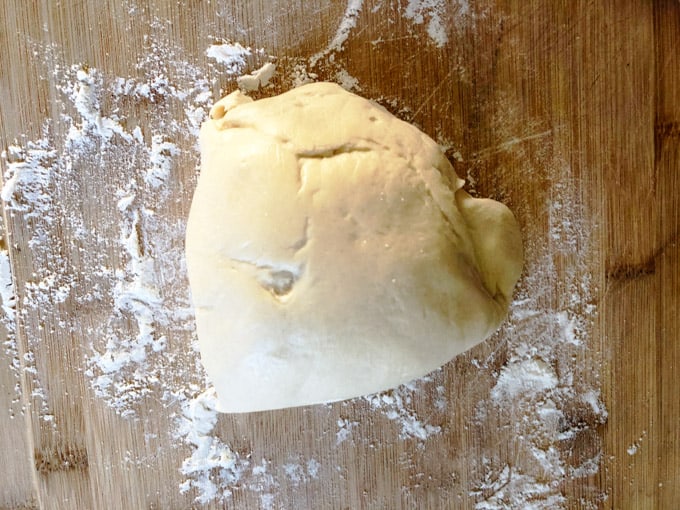
Once your dough is ready, you’ll need to let it rest. Cover the bowl with plastic wrap and let it sit for 30 minutes.
Step 2: Prepare the boiling water: Bring a large pot of salted water to a boil. You’ll need it ready once you make your first batch of pierogi.
Step 3: Roll the dough:
If you have a pasta roller extension for your mixer, divide your dough into about 4 or 5 pieces and start rolling them through the pasta maker until it’s thin (to about 1/8 of an inch). Make sure to keep your other pieces covered with plastic wrap.
If you don’t have a pasta roller, just use a regular hand roller and roll your dough in batches (to about 1/8 of an inch).
Putting it all together
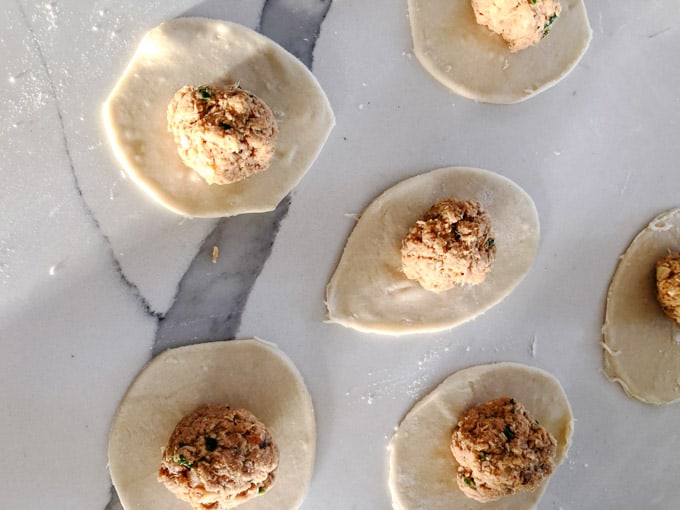
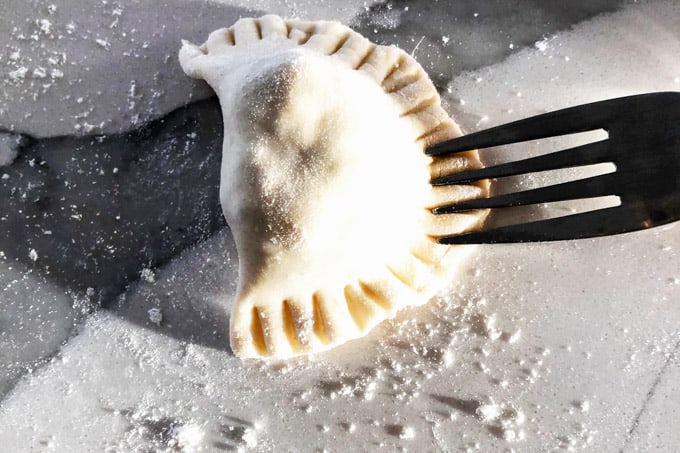
Step 1: Assemble pierogi: Using a glass, cut out circles, then place a teaspoon or 1.5 tsp of the filling on every circle; press the edges of the dough together and use a fork to seal the pierogi edges.
Step 2: Boil pierogi: Place the pierogi that you’ve made into the boiling water. Turn the heat down to low and cook for about 3 minutes until they float to the surface.
Step 3: Work in batches: Prepare the clean baking sheets. Splash a little oil on each baking sheet, remove the pierogi from the water with a slotted spoon, and place them on your oiled baking sheet. Then, shake them slightly to ensure they’re covered with oil and not touching each other.
Continue with the rest of the dough and the filling until you finish. You may have excess dough or filling left over when making pierogi. Don’t stress about it.
I must admit that I’ve become spoiled ever since I got my mixer. I cannot return to the old way of making pierogi dough by hand. It’s a huge time saver!
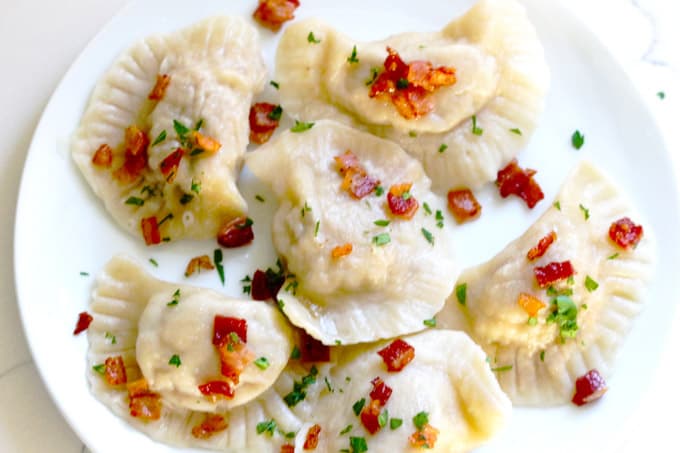
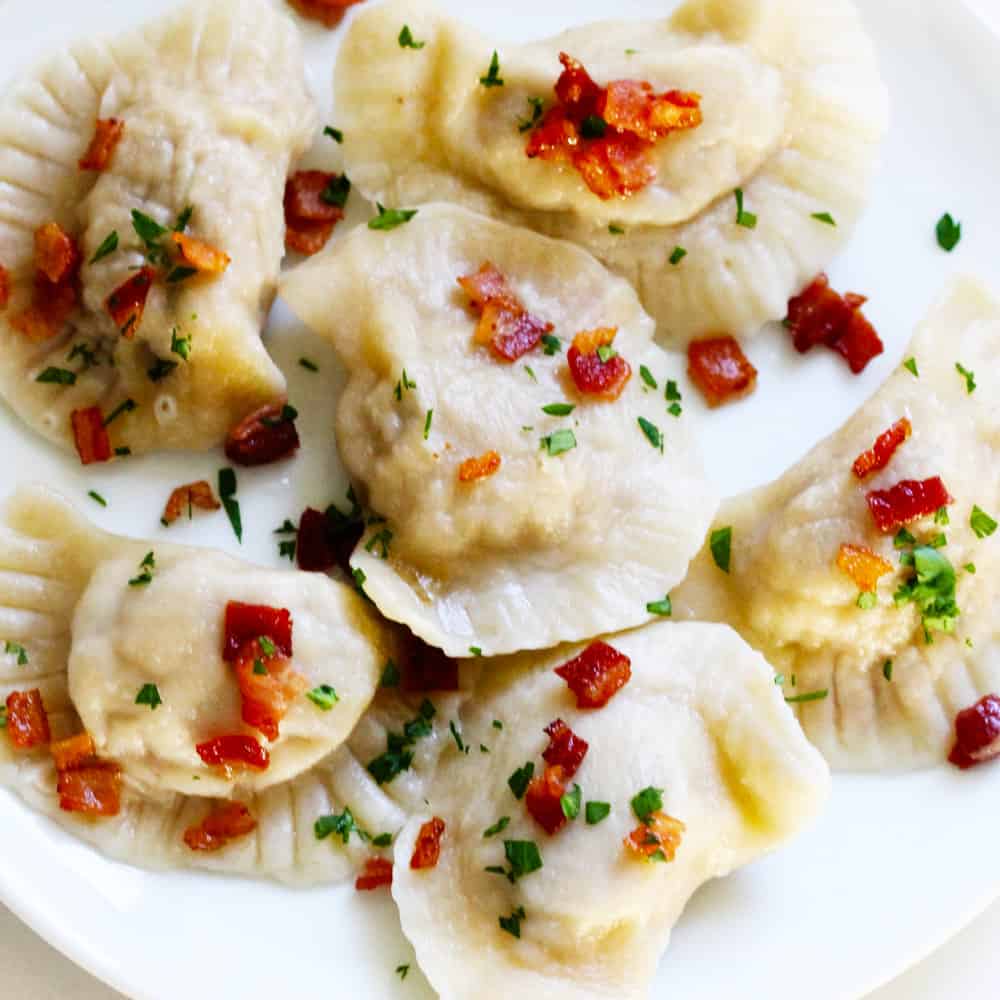
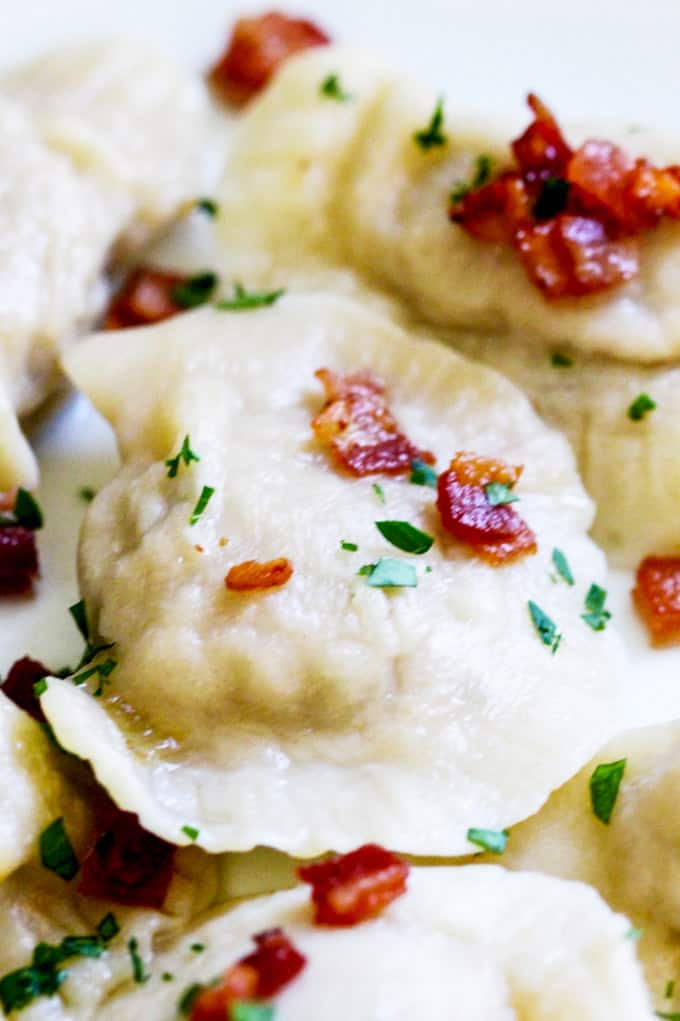
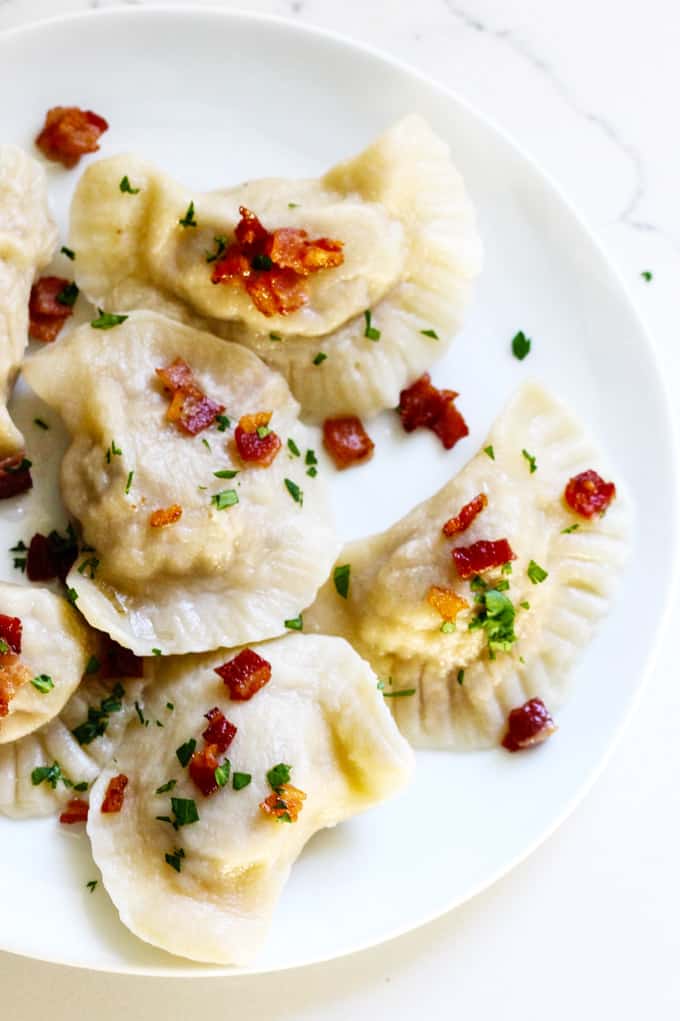
How to serve Meat Pierogi
I always make fried onions to sprinkle on the top of the pierogi, but fried bacon also works wonders.
You can also let them dry out slightly and then fry them up in a bit of butter before adding toppings (optional).
Sour cream is also an excellent addition to any pierogi.
How to reheat pierogi
So, did you make more pierogi than you can eat in one sitting? No stress! Once the pierogi are dried, cover them in oil, place them into the Tupperware, and eat within three days. The oil prevents them from sticking.
To reheat, boil a pot of water and add pierogi to the boiling water. Lower the heat and cook for a few minutes until they come to the surface. Now, you can eat them or add them to a buttered pan and slightly fry.
You could also fry them up directly from the fridge. Just melt some butter, add pierogi, and fry on each side until golden brown. I usually then add a splash of water and place a cover on top of the pan. It’s a similar technique to potstickers.
How to freeze pierogi
Place the baking sheet into the freezer, ensuring none of the pierogi are touching each other. Once frozen, place the pierogi in a plastic bag and store them for up to 3 months.
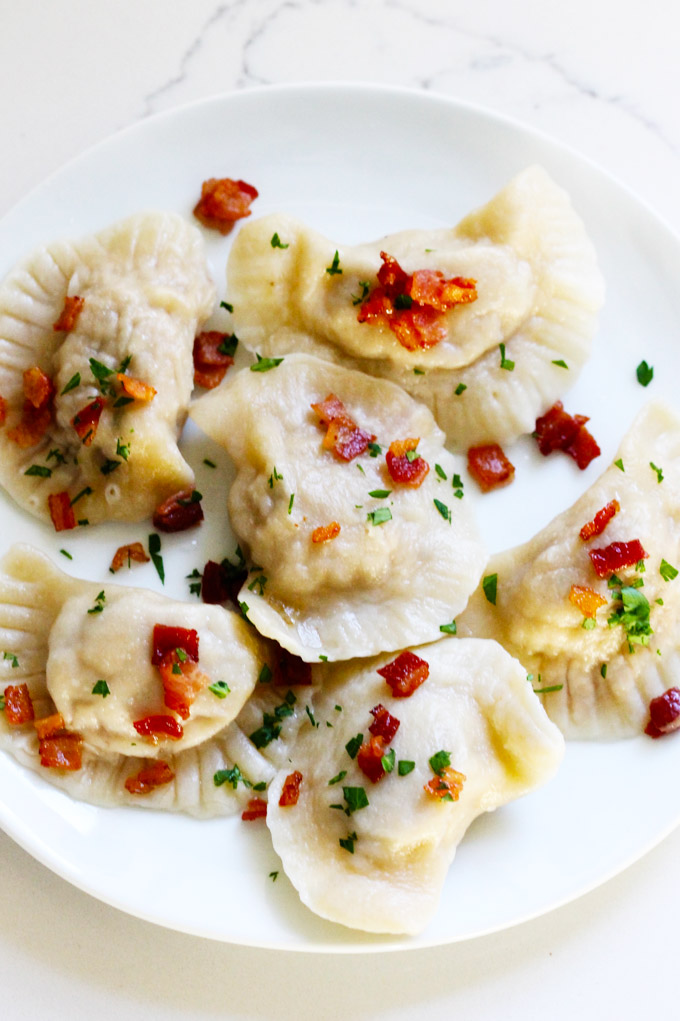
What kind of pierogi do you like the most?
I hope you’ll enjoy this kind.

Polish Meat Pierogi
Ingredients
For the Filling
- 2 cups Shredded or pulled meat turkey, chicken, beef or pork
- 1 Cooked Carrot
- 1/2 Medium Onion chopped and fried
- 1 tbsp Butter to fry the onion
- 2 tbsp Fresh Parsley chopped
- Salt and Pepper to taste
- 2 cups Broth optional, to rehydrate the meat if needed
For the Dough
- 3 cups Flour All-purpose
- 1 1/4 cups Warm Milk Or Warm Water You can also use 1/2 cup of Milk and 3/4 cup of water.
- 1 tbsp Melted Butter
- 1/4 teaspoon Salt
Instructions
For the Filling
- Either cook or rehydrate your meat. See recipe notes for more details. If using meat on the bones, strip it from the bones and slightly shred it. Add to a food processor.
- Chop and fry the onions in a tablespoon of butter for 5-7 minutes until golden brown. Let it cool slightly and add to the food processor.
- Chopp cooked carrots and fresh parsley and add to the food processor, season, and pulse a few times.
- Set your filling aside and prepare the dough.
For the Dough
- If you have a standing mixer, just add flour, warm milk and/or warm water, melted butter, and a pinch of salt to the bowl. Then, use the dough hook to mix it until it's well combined. Once combined, continue kneading it for about 6-7 minutes.
- If you don’t have a mixer, you can make the dough by combining all the ingredients and kneading it until it no longer sticks to your hand.
- Once your dough is ready, you’ll need to let it rest. Cover the bowl with plastic wrap and let it sit for 30 minutes.
- Bring a large pot of salted water to a boil. You’ll need it ready once you make your first batch of pierogi.
- If you have a pasta roller extension for your mixer, divide your dough into about 4 or 5 pieces and start rolling them through the pasta maker until it’s thin (to about 1/8 of an inch). Make sure to keep your other pieces covered with plastic wrap.
- If you don’t have a pasta roller, just use a regular hand roller and roll your dough in batches (again, to about 1/8 of an inch).
Putting it all together
- Using a glass, cut out circles, then place a teaspoon or 1.5 tsp of the filling on every circle; press the edges of the dough together and use a fork seal the pierogi edges.
- Place the pierogi that you’ve made into the boiling water. Turn the heat down to low and cook for about 3 minutes until they float to the surface.
- Prepare the clean baking sheets. Splash a little oil on each baking sheet, remove the pierogi from the water with a slotted spoon, and place them on your oiled baking sheet. Then shake them a little bit to ensure that they’re covered with oil and not touching each other.
- Continue with the rest of the dough and the filling until you’ve finished one full of them. When making pierogi, you may end up with excess dough or filling leftovers. Don’t stress about it.


It all looks so good!